Cheap DIY Ice Bath: 5 Budget Setups and Their Running Costs
A cheap DIY ice bath can be built with a container costing anywhere from $0 to roughly $350, and most options here come in under $200. The container is rarely the expensive part. The ice is, and that cost comes back every single session.
This guide covers five budget setups, what each one costs to start and to run, and where the weak points tend to show up. The build and cost details are research-based. If you want a cheap DIY ice bath you’ll still be using in three months, the running cost matters more than the price tag.
So let’s get the numbers straight before you spend a dollar on ice.
Affiliate disclosure: Some links in this post are Amazon affiliate links. If you buy through them, Sunrise & Vitalize may earn a small commission at no extra cost to you.
Quick Snapshot
- Five budget containers: bathtub, pop-up tub, chest cooler, stock tank, tall barrel
- Container cost: roughly $0–$350 at time of writing
- Ice needed: roughly 45–80 lb per session, depending on tap water temperature
- Running cost with bagged ice: roughly $9–$40 per session
- Beginners: start with milder cold water and brief exposure
- Biggest money saver: freezing your own ice in reusable jugs
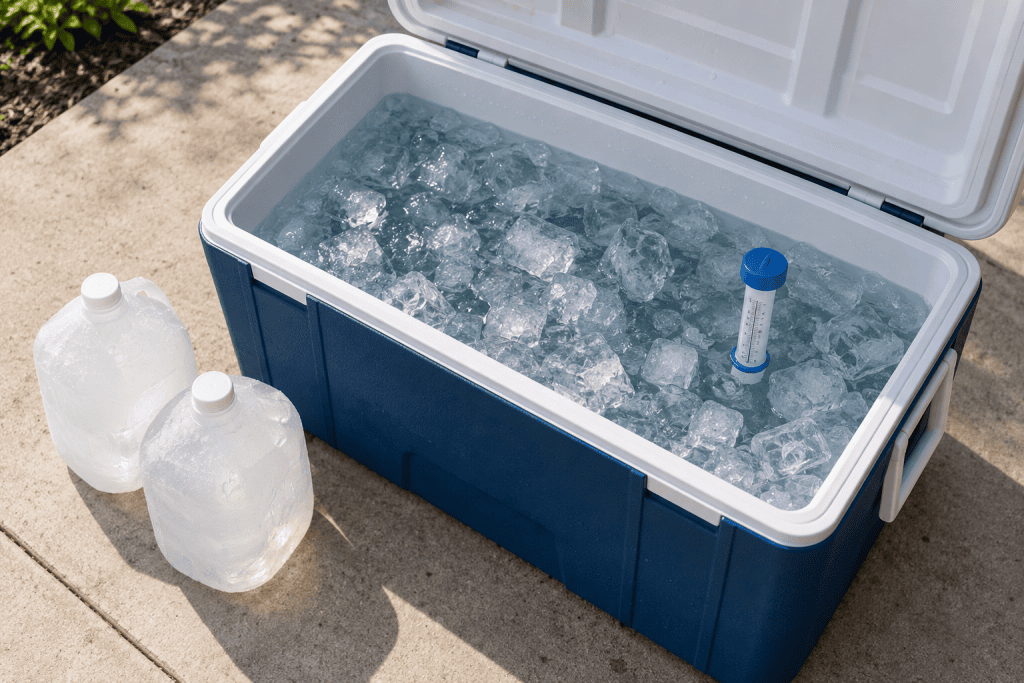
Table of Contents
- What a Cheap DIY Ice Bath Actually Needs
- The 5 Cheapest DIY Ice Bath Setups
- The Real Cost: Ice Is the Expense Most People Underestimate
- Setup Friction: Weight, Drainage and Getting Out
- Keeping the Water Clean on a Budget
- Staying Safe in a DIY Setup
- Pros and Cons
- Cheap DIY Ice Bath vs a Budget Chiller Setup
- Helpful Gear
- FAQ
- Final Verdict
What a Cheap DIY Ice Bath Actually Needs
Strip it back and you need three things: a container you can sit in, cold water, and a thermometer. Everything else is comfort or convenience.
The container has to get water up to your chest or shoulders while you’re seated. A cheap DIY ice bath that only covers your legs is a leg soak, which is useful but a different thing. Fit matters more than looks.
Check the container’s internal dimensions, stability and suitability for holding water before buying. Coolers and trash cans are not designed as bathing tubs. Skip any container that traps your legs, restricts movement or makes getting out difficult, and never use a barrel previously used for chemicals.
The thermometer is the easiest part to skip. Without one you’re guessing, and guessing usually means wasting ice or sitting in water colder than you meant to.
It’s also worth knowing what you’re replacing. I take cold showers daily, and a full plunge is a completely different level, not even comparable. In a shower you can step out of the stream; in a tub the cold surrounds you, and there’s no partial exposure to hide behind.
So a cold shower isn’t the free version of an ice bath. It’s a separate tool, and it doesn’t replace immersion.
What is the cheapest container for an ice bath?
A bathtub you already have is the cheapest option, because the container costs nothing. If you need a dedicated container, a heavy-duty trash can or a pop-up portable tub typically costs around $50–$150. Within a few weeks of regular use, you’ll usually spend more on ice than on any of these.
The 5 Cheapest DIY Ice Bath Setups
Prices below are approximate US ranges at time of writing. They vary by store, region and season.
1. Your Bathtub — $0
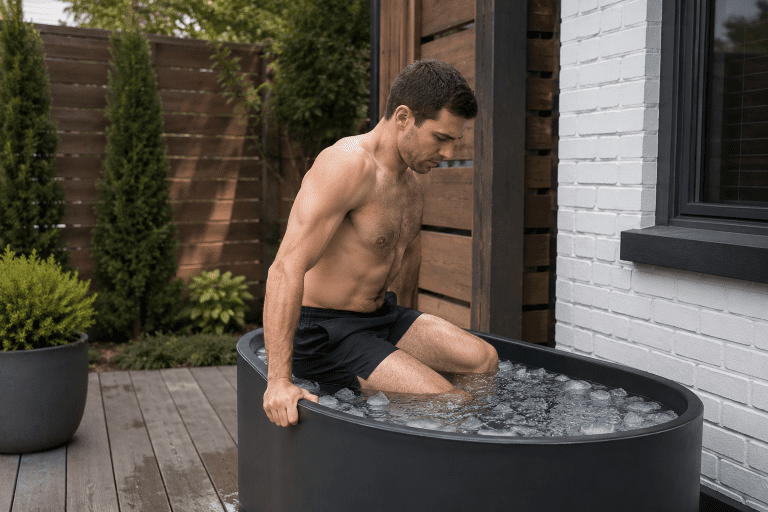
The bathtub is the obvious starting point for a cheap DIY ice bath. Fill it with the coldest tap water, add ice, check the temperature and get in.
The limitation is shape. Capacity figures vary by source, but a standard alcove tub is often quoted at around 40–60 gallons, and taller people end up with knees out of the water or shoulders exposed. Bathrooms also tend to be warm, so the water creeps up faster than it would outdoors.
2. Pop-Up Portable Ice Tub — Roughly $80–$150
These collapsible tubs are built for upright, seated plunging. They pack away when you’re done, which suits apartments and small patios.
The trade-off is durability. Thin walls, seams and zippers are the usual failure points, and Are Inflatable Ice Baths Durable? looks at how long this style of tub tends to hold up. As a cheap DIY ice bath for testing the habit before committing, it’s hard to beat.
3. Large Chest Cooler — Roughly $80–$200
A 120–150 quart cooler is the insulation pick. Thick walls slow down warming, so the ice lasts longer than in a thin-walled container.
The catch is interior space. A 150 quart cooler holds about 37 gallons, and many adults end up knees-up with shoulders only partly covered. For a cheap DIY ice bath that holds its temperature, though, the cooler is the strongest budget option.
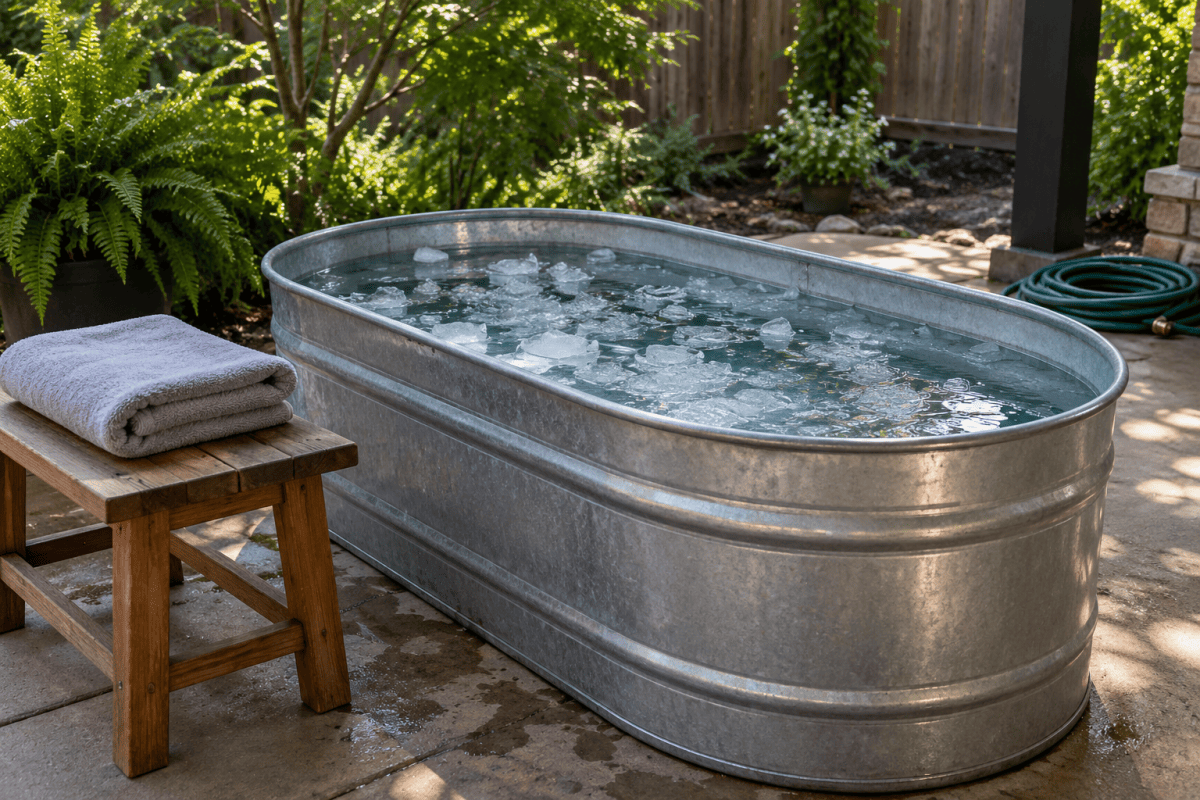
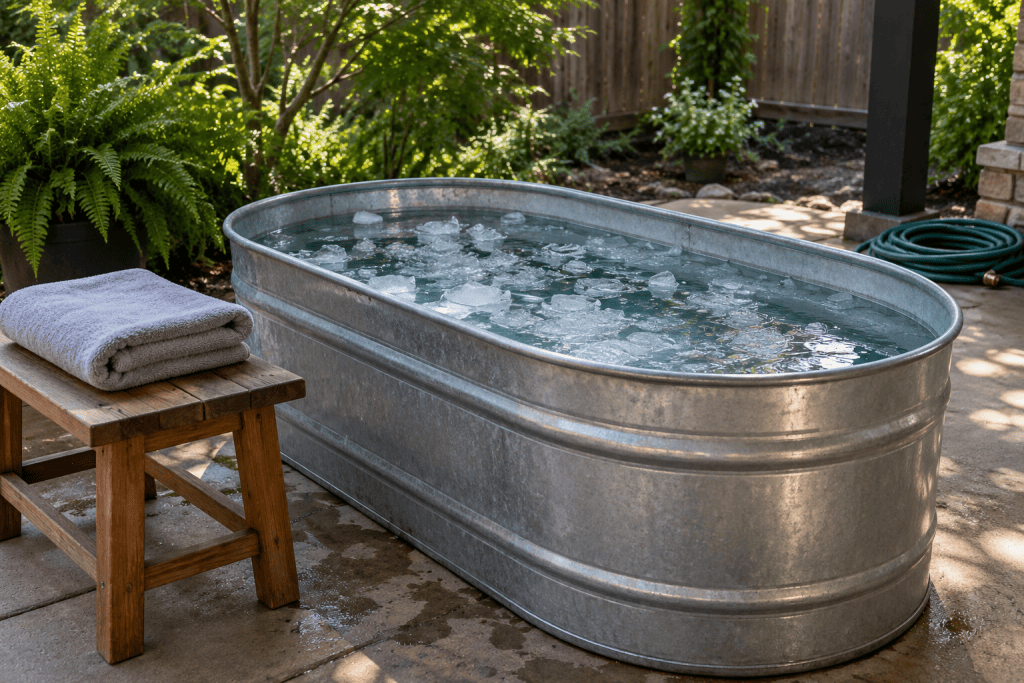
4. Poly or Galvanized Stock Tank — Roughly $120–$350
Farm supply stores sell stock tanks you can sit in with your legs stretched out. A 100 gallon poly tank (about 2 x 2 x 4 feet) is a common pick, and many include a drain plug, which matters more than it sounds.
Galvanized metal tanks look great but conduct heat. In direct sun they warm the water quickly, so shade or a cover becomes part of the setup. This is the cheap DIY ice bath closest to a full plunge experience, at the top of the budget range.
5. Tall Barrel or Heavy-Duty Trash Can — Roughly $50–$70
A tall food-grade barrel or a 44-gallon heavy-duty trash can (roughly 31 inches tall) takes up very little floor space and uses less water. You kneel or crouch inside rather than sit.
It’s the lowest-cost dedicated container here, but getting out is the weak point. Climbing over a tall rim with cold, clumsy hands is awkward, and it’s the setup where having a second person nearby matters most.
The Real Cost: Ice Is the Expense Most People Underestimate
Here’s the number worth understanding before you buy anything. Based on basic heat math, dropping about 60 gallons of 65°F tap water to around 50°F takes roughly 45–55 lb of ice. In summer, with tap water closer to 75°F, it can climb toward 80 lb.
Bagged ice prices vary a lot by store. At time of writing, a 10 lb bag typically runs about $2–$5, and 20 lb bags from grocery or big-box stores usually work out cheaper per pound than gas-station ice. That puts one session somewhere around $9–$40.
At three sessions a week, a cheap DIY ice bath can cost roughly $120–$500 a month in ice alone. The container is a one-time purchase, but the ice bill repeats, and within a few weeks it can overtake what you paid for the tub.
How much ice do you need for a DIY ice bath?
For a typical 50–60 gallon fill, plan on roughly 45–80 lb of ice per session. The warmer your tap water and the colder your target, the more you’ll need. A floating thermometer stops you from guessing and wasting bags.
The Jug Method: Cutting the Ice Bill
The biggest saving comes from freezing your own. A gallon of water weighs about 8.3 lb, so six frozen gallon jugs give you close to 50 lb of ice.
The jugs go in sealed, come out after the session, and go back in the freezer. Big blocks also melt more slowly than cubes. The limit is freezer space, which is where a chest freezer you already have earns its keep, and Chest Freezer Ice Bath: Costs, Risks and Practical Alternatives covers that route in more detail.
The Seasonal Shortcut
In colder parts of the US, winter does a lot of the work for free. Outdoor water left overnight can sit well below 50°F without any ice at all.
The risk runs the other way. Water that freezes solid can crack plastic and split seams, so check the temperature before every session instead of assuming. A cheap DIY ice bath in January can be colder than you planned.
Setup Friction: Weight, Drainage and Getting Out
Water weighs about 8.3 lb per gallon. A full 100 gallon stock tank is over 800 lb before anyone gets in, which is a real load for an older deck or balcony. Ice Plunge Space Requirements: What You Actually Need Before You Buy covers floor loading and clearance in more depth.
Drainage is the next headache. A bathtub drains itself, but a cooler or tank needs a drain plug, a siphon hose or a pump. Without one, emptying 60 gallons by bucket gets old fast.
Then there’s getting out. Hands go numb faster than you’d expect, and grip suffers. Any cheap DIY ice bath should have a stable edge to push up from and a dry, non-slip spot to step onto.
For the simplest DIY setup, keep electrical equipment out of the water. Do not improvise with an aquarium or utility pump while someone is immersed. Any powered bathing system needs equipment suitable for that use, manufacturer-approved installation and appropriate electrical protection. A GFCI outlet alone does not make an improvised setup safe.
Keeping the Water Clean on a Budget
Untreated water doesn’t stay clean. Skin oils, sweat and debris build up with every use.
For a cheap DIY ice bath without a properly maintained water-treatment system, use fresh water for each session, then drain, rinse and let the container dry. A cover keeps debris out but does not disinfect the water, and clear-looking water can still contain germs.
A cover is still worth having outdoors. It keeps out leaves, insects and sun while you’re setting up. Between sessions, an empty, dry container also avoids standing water, which can breed mosquitoes in warm weather.
Staying Safe in a DIY Setup
How cold should a DIY ice bath be?
There is no temperature-and-time combination that guarantees safety. Beginners should start with milder cold water and brief exposure rather than aiming straight for an icy bath or a 10–15-minute session.
The American Heart Association warns that sudden cold immersion can rapidly increase breathing, heart rate and blood pressure. Get medical advice before starting if you have a heart condition or other relevant health concerns. Enter gradually, keep your head above water, avoid breath-holding and hyperventilation, and have another adult present. Get out immediately if you feel unwell or lose control of your breathing. Dry off and change into warm clothing afterward.
A cheap DIY ice bath may lack temperature control, a stable entry point and other useful design features. Commercial equipment doesn’t remove cold-exposure risks either. Signs of Hypothermia in Ice Baths: The Honest Safety Guide You Actually Need and Is Solo Ice Bathing Safe? An Honest Look at the Risks are both worth reading before your first session, especially if you plunge alone.
If you pair cold with heat, Steam vs Sauna: Key Differences explains how the two heat sources differ before you build a contrast routine around them.
Pros and Cons
Pros
- Low start-up cost, roughly $0–$350 for the container
- No electrical installation for non-powered setups
- Easy way to test whether you’ll stick with cold plunging
- Containers can be resold or reused
Cons
- Bagged ice can overtake the container price within weeks
- Temperature control is manual and drifts during the session
- Untreated water should be replaced after every session, which adds time and water use
- Getting out of tall or narrow containers is awkward with numb hands
Cheap DIY Ice Bath vs a Budget Chiller Setup
Entry-level chiller-and-tub combos are advertised from roughly $600–$1,500 at time of writing, with established brands costing considerably more. You’ll also pay for the chiller’s electricity.
At three sessions a week, bagged ice alone can run $120–$500 a month. At the high end, a budget chiller can pay for itself within a few months; at the low end, it can take closer to a year. If you plunge once a week, the DIY route stays cheaper for much longer.
The deciding factor is frequency, not budget. What Is the Real Cost of Home Ice Bath Systems in 2026? breaks down the full price range across system types.
| Feature | Bathtub | Pop-Up Tub | Chest Cooler | Stock Tank | Tall Barrel |
|---|---|---|---|---|---|
| Container cost (approx.) | $0 | $80–$150 | $80–$200 | $120–$350 | $50–$70 |
| Ice needed per session | Moderate | Low–moderate | Low | High | Low |
| Holds temperature | Poor | Fair | Good | Poor–fair | Fair |
| Shoulder-deep for most adults | Often not | Yes | Often not | Yes | Yes, kneeling |
| Getting out with numb hands | Easy, but slippery | Fair | Fair | Easy | Hardest |
| Drains easily | Yes | Fair | Drain plug | Drain plug | Tip or siphon |
Helpful Gear
- Floating pool thermometer – Shows the water temperature at a glance, so you add only the ice you need.
- Frozen water jugs — Reuse clean plastic jugs with securely closed caps, leaving room for the water to expand during freezing. Cooling depends on the amount of frozen water and your tub’s volume.
- Neoprene water socks – Takes the edge off cold feet, often the first thing that makes people get out early.
FAQ
Is a cheap DIY ice bath worth it if I’ll only use it twice a week?
It can be, but price your local ice first. At the estimated $9–$40 per session, twice-weekly use costs roughly $80–$350 a month in bagged ice. Freezing reusable jugs can reduce purchases, provided you have enough freezer space. Start with an existing bathtub if you want to test the habit before buying equipment.
Do I need a chiller to start?
No. Ice, a container and a thermometer are enough. A chiller only starts to make financial sense once you’re plunging often enough that the ice bill keeps climbing.
Can I leave ice bath water in the tub between sessions?
Not without a properly maintained water-treatment system. Use fresh water for each session, then drain, rinse and let the container dry. A cover keeps debris out, but it doesn’t disinfect the water.
Simple rule: buy the container for the body you have, and budget for the ice you’ll keep buying.
Summary Snapshot
- Cheapest start: your bathtub, at $0
- Best budget insulation: a 120–150 quart chest cooler
- Closest to a full plunge: a 100 gallon stock tank
- Ongoing cost: roughly $9–$40 per session in bagged ice
- Biggest saving: frozen gallon jugs, reused every session
- Upgrade signal: three or more sessions a week, every week
Final Verdict
The best cheap DIY ice bath is the one that fits your body, drains without a fight, and doesn’t eat your budget in ice. For most people that means starting with a bathtub or a pop-up tub, adding a thermometer, and freezing jugs instead of buying bags.
If you find yourself plunging three or more times a week for a couple of months, run the ice numbers again. That’s usually the point where a chiller starts making financial sense. Until then, a container and a freezer full of jugs will do the job, and the cold feels the same whatever you paid. After a full plunge I feel fantastic, and the effect is immediate and lasting.
If you’re still choosing between options, The Real Best Home Ice Bath Setup Options (What Actually Works ) compares setups across the full price range. For temperature targets, Safe Ice Bath Temperature Guide: What Actually Works is the next step, and Ideal Ice Bath Duration: How Long Should You Actually Stay In? covers session length.