The Real Best Home Ice Bath Setup Options (What Actually Works)
A home ice bath setup doesn’t need to be complicated, but it does need to fit how you actually live — and that’s the part most buying guides skip.
I’ve used a full ice plunge regularly for years, alongside saunas, steam rooms, and hot tubs, so I’m not approaching this from a spec sheet. Cold showers daily are one thing, but a full plunge is a completely different level — not really comparable in terms of the response it produces. The first thing nobody tells you: the loudest part of owning a chiller isn’t the cold, it’s the compressor humming through a thin garage wall at 6am. If you’re setting one up near a bedroom, that detail matters more than the brand name on the unit.
Right, let’s get into the actual options, what they cost, and what tends to go wrong.
Affiliate disclosure: Some links below are affiliate links. If you buy through them, we may earn a small commission at no extra cost to you. We only recommend things we’d genuinely use ourselves.
Quick Snapshot
- Basic insulated tub + ice bags: roughly $300–$700 to get started
- Chiller-equipped setup: typically $1,500–$5,000 depending on size and brand
- Most people underestimate drainage needs, not tub capacity
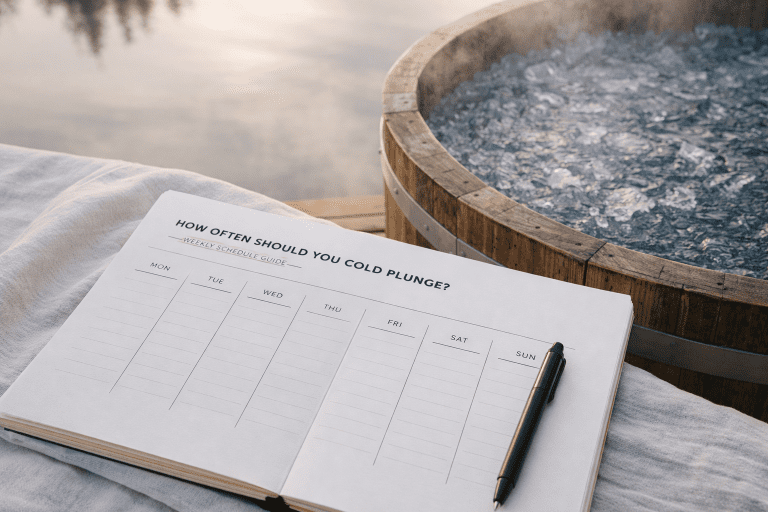
- Build cold tolerance gradually over two to three weeks rather than trying to do too much on day one.
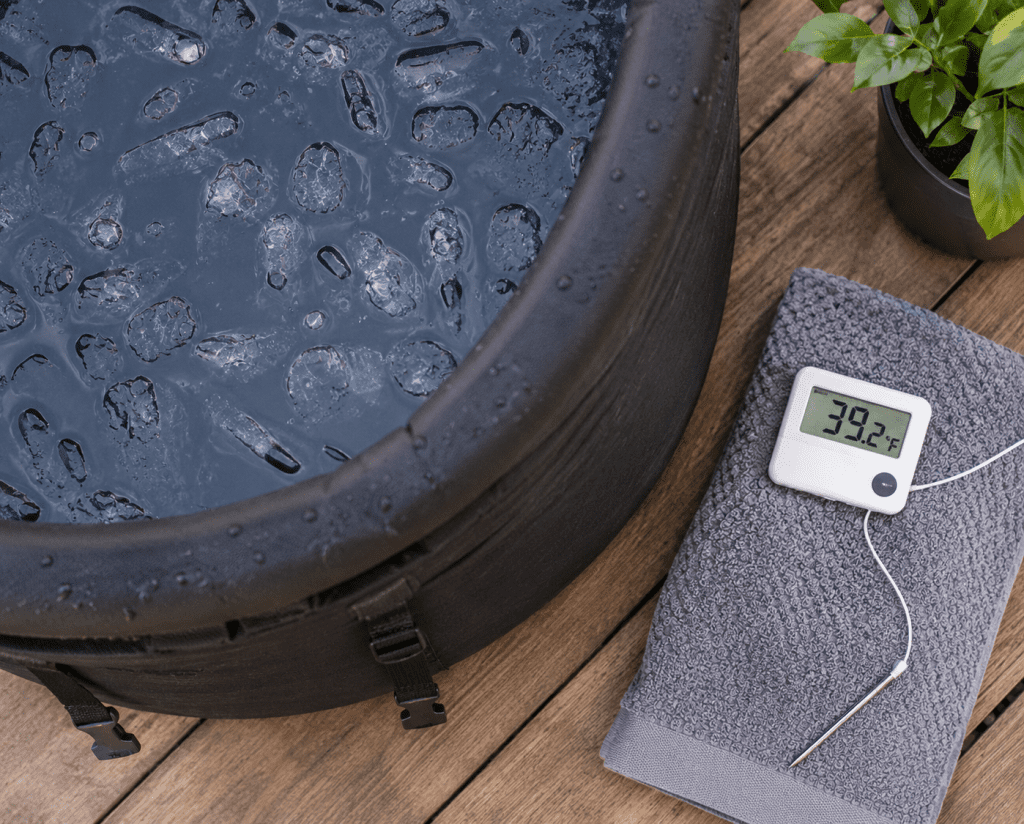
Table of Contents
- What Counts as a Home Ice Bath Setup
- What It Actually Costs
- Installation Friction Nobody Mentions
- Keeping It Maintained
- Pros and Cons
- Comparison: Manual Ice vs Chiller Units
- Helpful Gear
- FAQ
- Final Verdict
What Counts as a Home Ice Bath Setup
There are really two routes into a home ice bath setup: manual ice-and-water, or a chiller unit that holds a set temperature automatically. Both work. They just suit different routines.
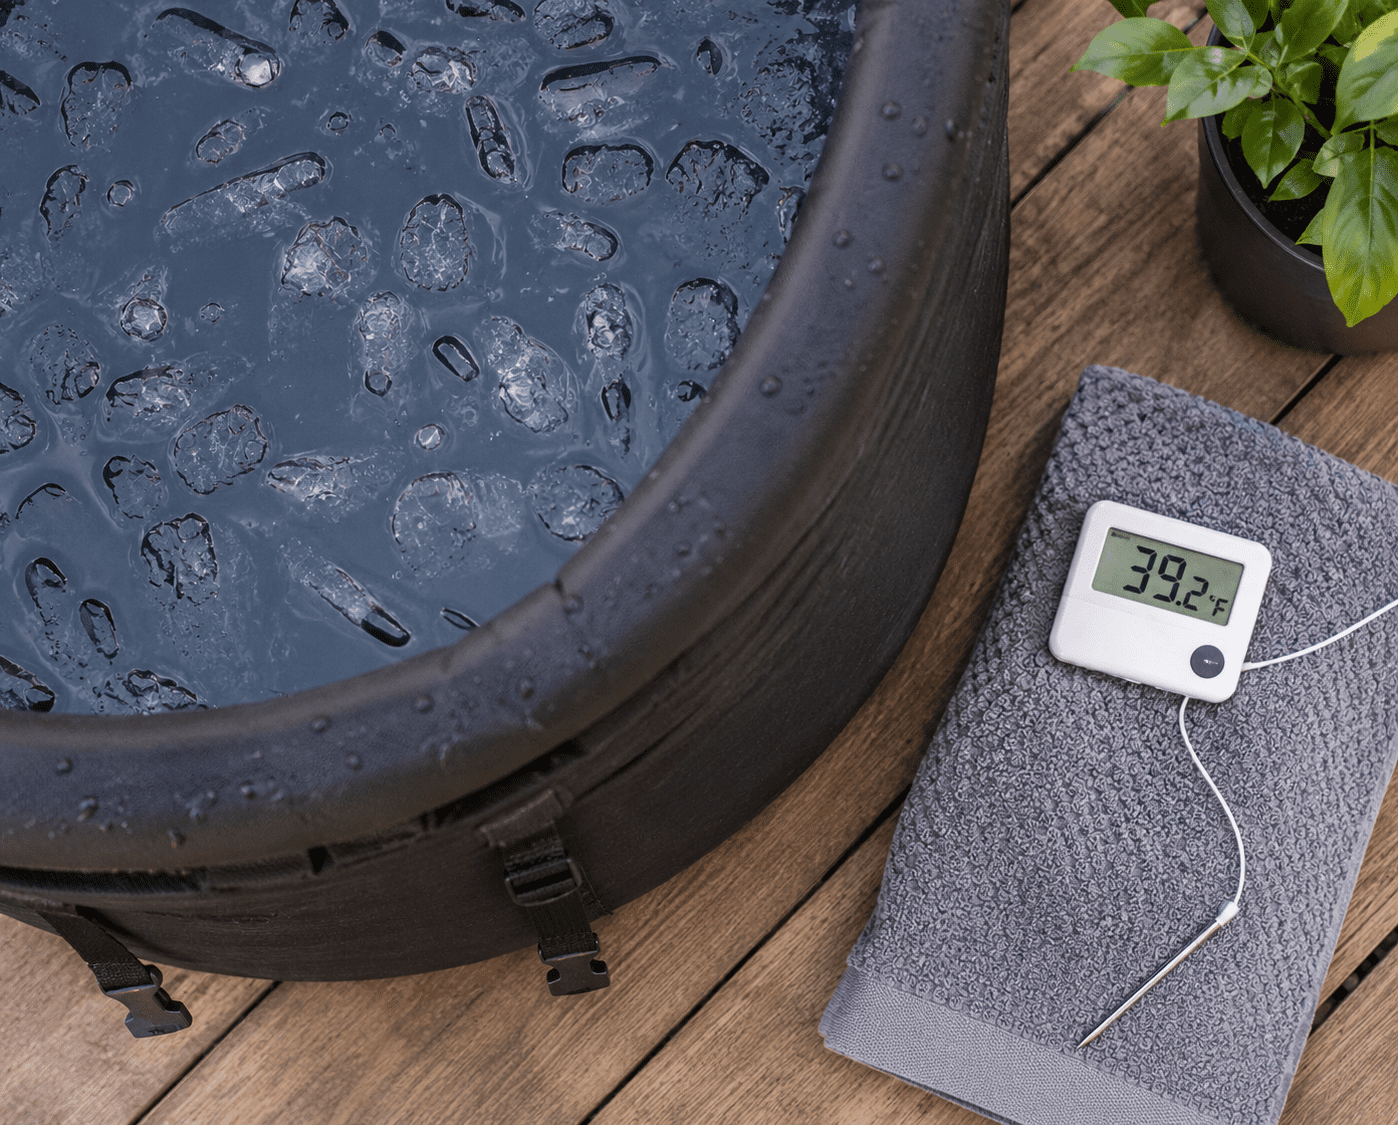
What temperature should a home ice bath actually be? Most people plunge somewhere between 39°F and 55°F. Colder isn’t automatically better — 50°F held for a few minutes does most of the work that 39°F does, without the same shock to your system. Cold water immersion in this range is linked to reduced perceived muscle soreness and improved circulation after exercise, according to research summarised by Healthline, though the size of the effect varies between studies.
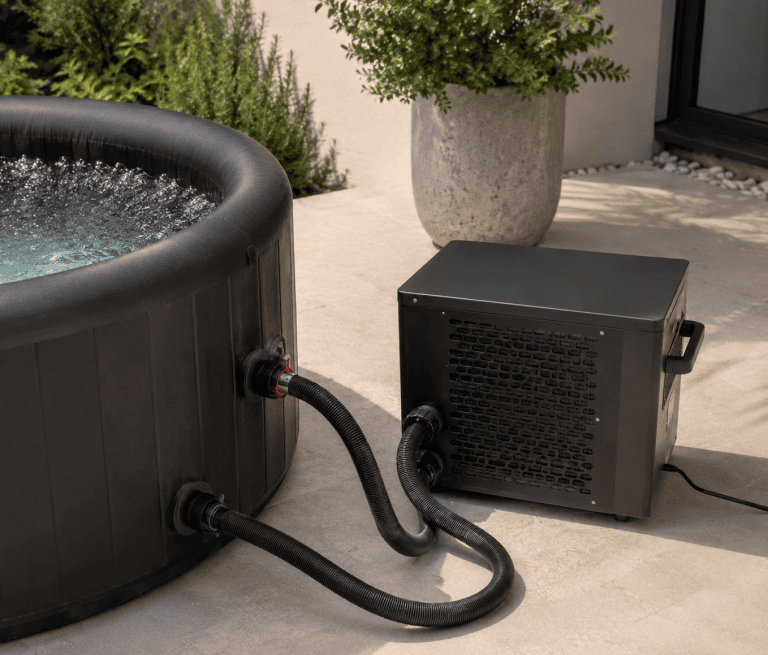
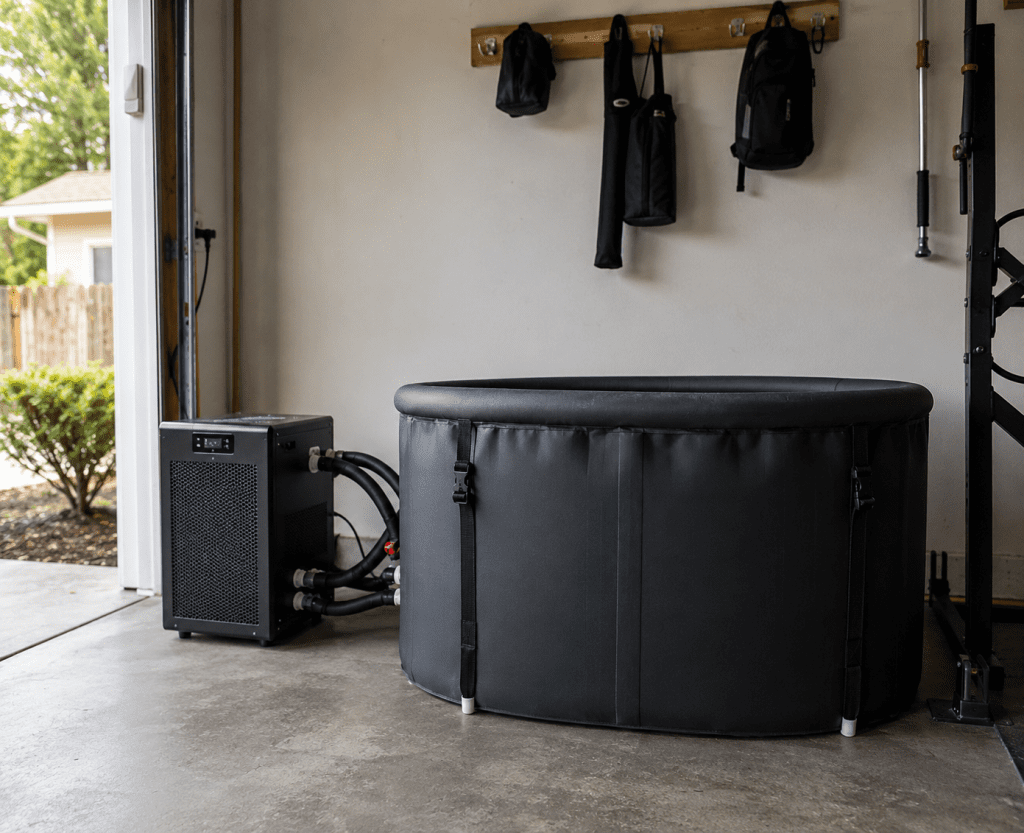
Manual setups use a stock tank or insulated tub topped up with bagged ice before each session. It’s cheap and it works, but ice runs out, and refilling a tub at 6am before work gets old fast. A chiller solves that problem by recirculating and cooling the same water continuously, so the tub is ready whenever you are.
What a Realistic Home Ice Bath Setup Actually Costs
Figures here are approximate and will shift depending on region, brand, and time of year — treat them as a starting point, not a fixed quote.
A no-frills manual setup — insulated stock tank, a thermometer, and a steady ice supply — typically runs $300 to $700 to get going, plus the ongoing cost of ice itself, which adds up faster than people expect. A chiller-equipped home ice bath setup generally lands between $1,500 and $5,000, with the spread driven by tank insulation quality, chiller horsepower, and whether filtration is built in or sold separately. Running costs for a chiller sit closer to a small fridge than people assume, not a major line item on the electricity bill — though it’s worth checking the unit’s wattage against current rates via a source like energy.gov before committing.
Installation Friction Nobody Mentions
This is where most buying guides go quiet, and it’s the part that actually determines whether the thing gets used six months from now. Drainage, not tub size, decides whether a home ice bath setup survives long-term. A tub with no nearby drain means hauling water out by bucket every time it needs changing, and that’s the single biggest reason these things end up unused in a garage corner.
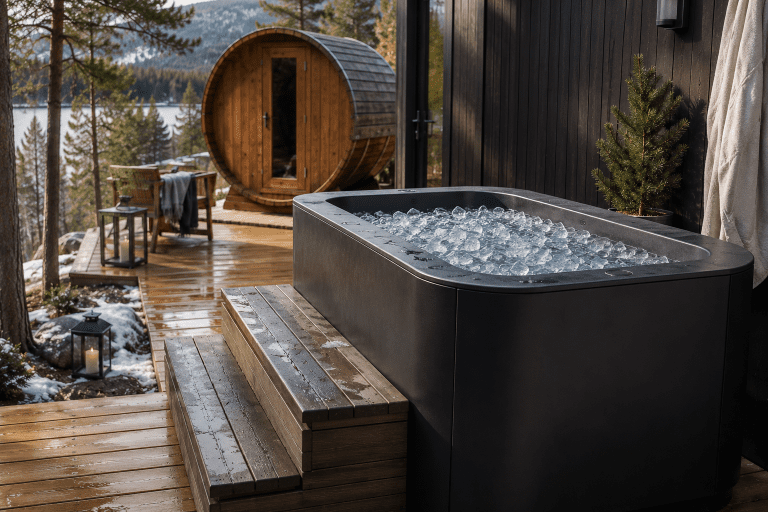
Outdoor placement needs a hard, level surface — decking or concrete, not grass that turns to mud under a few hundred pounds of water. Indoor placement, especially in a garage, raises the compressor noise question again: chillers aren’t silent, and a thin wall next to a bedroom will make that obvious within the first week. A home ice bath setup near a living space is rarely the right call once the noise becomes part of daily life rather than a spec on a listing.
Keeping It Maintained
Water doesn’t stay clean on its own. A basic sanitising routine — usually a small dose of chlorine or a UV/ozone filter built into the chiller — keeps bacteria from building up between sessions, similar in principle to hot tub water care. Skipping this is the most common shortcut people take with a home ice bath setup, and it’s the one that causes skin irritation and a genuinely unpleasant smell within a couple of weeks.
A simple weekly check of water clarity and a full water change every one to two weeks for manual setups (longer for filtered chiller units) covers most of it. It’s not glamorous, but it’s a five-minute task, not an hour-long chore.
Pros and Cons
Honest trade-offs matter more here than a polished feature list. A genuinely useful home ice bath setup still comes with real downsides worth knowing before you buy.
Pros:
- Available on your own schedule, no gym or studio commute
- Chiller units remove the daily ice-buying hassle
- Builds a consistency that’s hard to replicate with cold showers alone
Cons:
- Drainage and noise are easy to underestimate until you’re living with them
- Manual ice setups have an ongoing cost that never goes away
- Acclimatisation takes real weeks, not a single brave attempt — most first sessions end faster than people expect, and that’s normal, not failure
Comparison: Manual Ice vs Chiller Units
| Factor | Manual Ice Setup | Chiller Unit |
|---|---|---|
| Starting cost | $300–$700 | $1,500–$5,000 |
| Daily effort | High — ice runs need refilling | Low — set and forget |
| Noise | Silent | Audible compressor hum |
| Post-session feeling | Same cold-shock benefit | Same, but more consistent temperature each time |
| Best for | Occasional or seasonal use | Daily, routine use |
Helpful Gear
- Insulated stock tank or cold plunge tub – Holds temperature far longer than a standard container, which matters most for manual ice setups.
- Digital water thermometer – Lets you track and repeat the same temperature each session rather than guessing.
- Tub cover – Keeps debris and heat out between sessions, which cuts down on both ice usage and cleaning frequency.
FAQ
Is a chiller worth it if I’ll only use it two or three times a week? It depends on how much you value your time. Manual ice costs less upfront, but the weekly cost of buying ice often closes the price gap with a chiller within a year or two of regular use.
How cold does the water need to be to get a benefit? Most people see a meaningful response anywhere from 39°F to 55°F. There’s no need to chase the coldest possible number — consistency matters more than extremity.
Will this actually get used or end up collecting dust? Honestly, it comes down to placement and drainage more than motivation. A home ice bath setup that’s awkward to drain or noisy near a bedroom gets used less and less, regardless of how committed you are on day one.
The Simple Rule
If you’re not sure which way to go, start with a manual setup before paying for a chiller — it tells you honestly whether the routine sticks before you commit real money to a home ice bath setup built around it.
Summary Snapshot
- Manual setups: cheaper to start, more ongoing effort
- Chiller setups: bigger upfront cost, far less daily hassle
- Drainage and noise matter more than tub size or brand
- Build cold tolerance gradually — drop temperature 2°F at a time over a couple of weeks rather than starting at the coldest setting

Final Verdict
There isn’t a single right answer for a home ice bath setup — it genuinely depends on how often you’ll use it and where it’s going to live in your home. What I’d say from years of combining cold exposure with heat — sauna, steam, or a hot tub session beforehand — is that the contrast is the real product. The natural high that follows a hot session into a cold plunge lasts for hours, and that combination is worth factoring into the decision as much as the tub itself.
If you’re weighing up where cold fits against indoor vs outdoor saunas, the same placement and noise questions apply on the heat side, so it’s worth thinking about both at once rather than solving one and bumping into the other later. For more on the safety side of cold exposure specifically, our ice plunge safety guide covers tolerance building and timing in more depth.
Browse Ice Plunge Picks → View Ice Plunge Guides →
Related reading: Ice Plunge Safety covers how to build cold tolerance safely over time, and Indoor vs Outdoor Saunas is worth a look if you’re planning a heat-and-cold contrast routine rather than cold exposure on its own.