Ventilation for Indoor Saunas: The Honest Guide Most Owners Skip
Ventilation for indoor saunas is one of those topics that gets glossed over in most buying guides, buried under heater specs and wood types, treated as an afterthought — and that’s exactly how people end up with a stuffy, oxygen-thin box that feels awful to sit in after ten minutes.
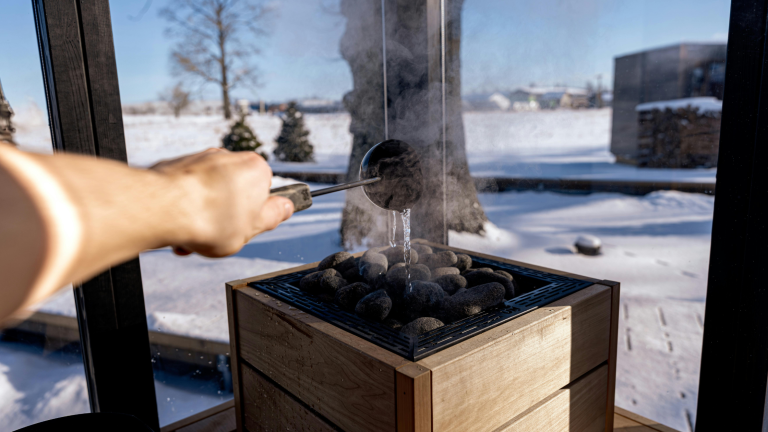
I’ve used a sauna regularly for years. The experience I keep coming back for is that specific combination of deep heat, genuine relaxation, and what I can only describe as a purging feeling — like you’ve sweated something out that needed to go. You don’t get that in a poorly ventilated room. You get a headache.
Quick note: This post contains affiliate links. If you buy through them, I earn a small commission at no extra cost to you. I only link products I’d genuinely consider myself.
Quick Snapshot
- Ventilation for indoor saunas isn’t optional — it’s what makes sessions safe and effective
- Two vents minimum: one low intake near the heater, one high exhaust on the opposite wall
- Poor ventilation causes oxygen depletion, excess humidity, and structural moisture damage
- DIY-capable for experienced homeowners; electrical and structural work needs a licensed contractor
- Running costs are minimal once correctly set up — the damage from ignoring it is not
- Affects every session quality outcome: heat distribution, air freshness, humidity control

Table of Contents
- Why Ventilation for Indoor Saunas Actually Matters
- How Indoor Sauna Ventilation Systems Work
- The Real Cost of Getting It Right (and Wrong)
- Installation: What’s Straightforward and What Isn’t
- Maintenance You Actually Need to Do
- Pros and Cons
- Passive vs Mechanical Ventilation: Which One Do You Need?
- Comparison Table
- Helpful Gear
- FAQ
- Final Verdict
Why Ventilation for Indoor Saunas Actually Matters
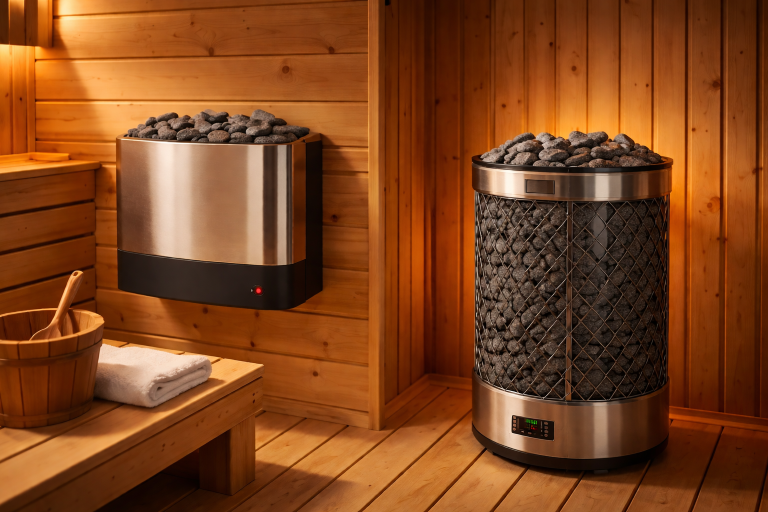
Most sauna content focuses on the heater. That’s understandable — the heater is the centrepiece. But the heater only delivers on its promise if the air in the room is actually working with it.
A sauna without proper airflow depletes oxygen faster than most people expect. After 20 to 30 minutes in a poorly ventilated room, the air becomes thick, the heat feels oppressive rather than therapeutic, and you exit feeling drained rather than restored. That’s not what anyone paid for.
There’s also a structural argument. Trapped moisture from repeated sessions will degrade wood, promote mould, and compromise the integrity of the room itself. According to Healthline’s overview of sauna use and health outcomes, the benefits people associate with regular sauna use — cardiovascular, recovery, mental clarity — require consistent, extended sessions. Ventilation for indoor saunas is what makes those longer sessions physically comfortable enough to sustain.
How Indoor Sauna Ventilation Systems Work
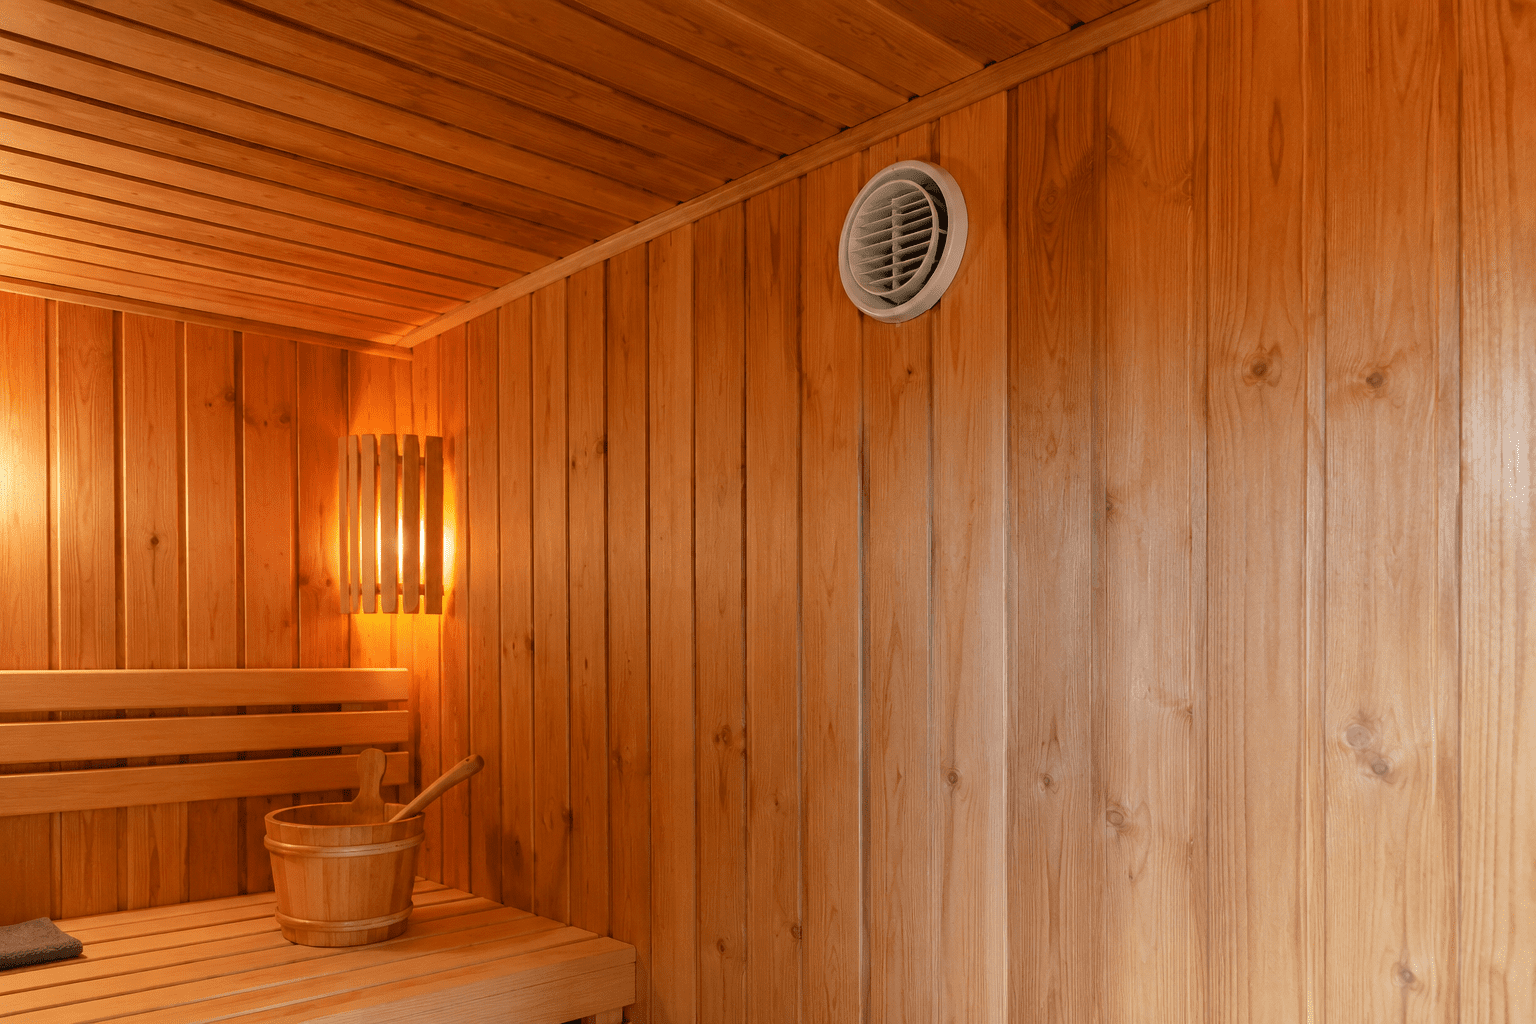
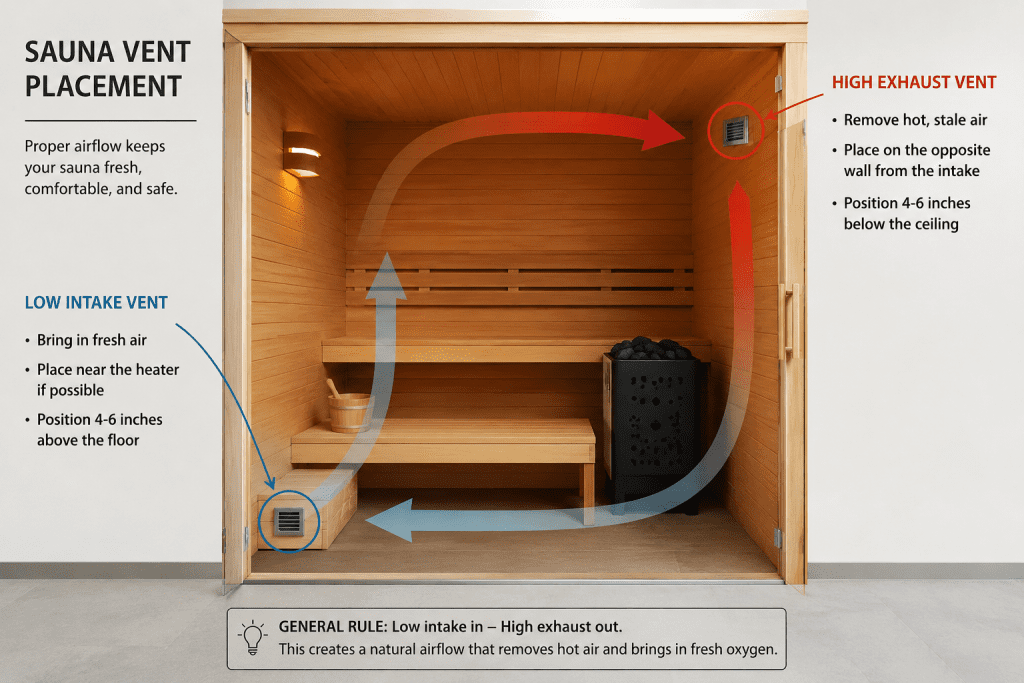
The principle is simple. Cool, fresh air enters low near the heater. Hot, used air exits high on the opposite wall. That differential creates a natural flow that maintains oxygen levels, controls humidity, and distributes heat evenly through the room.
The intake vent is typically placed 6 to 8 inches above the floor, positioned close to the heater so incoming air warms quickly. The exhaust vent sits near the ceiling — ideally diagonally opposite the intake — allowing hot, moisture-laden air to escape before it stagnates.
Ventilation for indoor saunas follows this two-vent minimum as a baseline. Larger rooms, rooms with higher occupancy, or rooms in humid climates may need a third vent or a supplemental mechanical fan to achieve adequate air exchange. The standard recommendation is 1 to 3 air exchanges per hour depending on room size.
What’s the correct vent placement for an indoor sauna? The intake vent should sit 6–8 inches above the floor near the heater. The exhaust vent should be positioned near the ceiling on the opposite wall. This diagonal placement creates natural convective airflow, maintains oxygen levels, and prevents hot, humid air from pooling at ceiling height where it can damage wood over time.
The Real Cost of Getting It Right (and Wrong)
The cost of installing ventilation for indoor saunas correctly is modest in context. Passive vent inserts run $20 to $80 each. A simple inline exhaust fan with a backdraft damper costs $60 to $180. If your installation requires a licensed HVAC contractor for any portion of the ductwork, budget $200 to $600 for that labour depending on your location and complexity.
Total for a properly ventilated indoor sauna room: $100 to $800, with most straightforward installations sitting toward the lower end.
The cost of getting it wrong is harder to quantify but significantly higher. Moisture damage to cedar or hemlock walls can require full panel replacement. Mould remediation in a small enclosed room typically runs $500 to $1,500. Structural issues in adjacent walls or flooring from unchecked moisture are costlier still. Ventilation for indoor saunas is not where you want to economise.
There’s also a session quality cost that doesn’t show up on a bill. A sauna that feels stale or oxygen-thin doesn’t get used. Equipment that doesn’t get used delivers zero return on what is typically a $2,000 to $8,000 investment.
Installation: What’s Straightforward and What Isn’t
What a confident DIYer can handle: Cutting vent openings through interior sauna walls, fitting passive vent inserts, positioning and securing an inline fan, and connecting a simple louvred exhaust vent on an exterior-facing wall. These are manageable with standard tools and patience.
What needs a licensed professional: Any penetration through a load-bearing wall, any modification to existing HVAC ductwork, electrical wiring for a powered fan, and any work that triggers a building permit in your jurisdiction. According to Nolo’s guidance on home improvement permits, ventilation work that modifies structural elements or involves new electrical circuits typically requires a permit — and skipping that step can create complications when you sell. You’ll want to check your local requirements before starting.
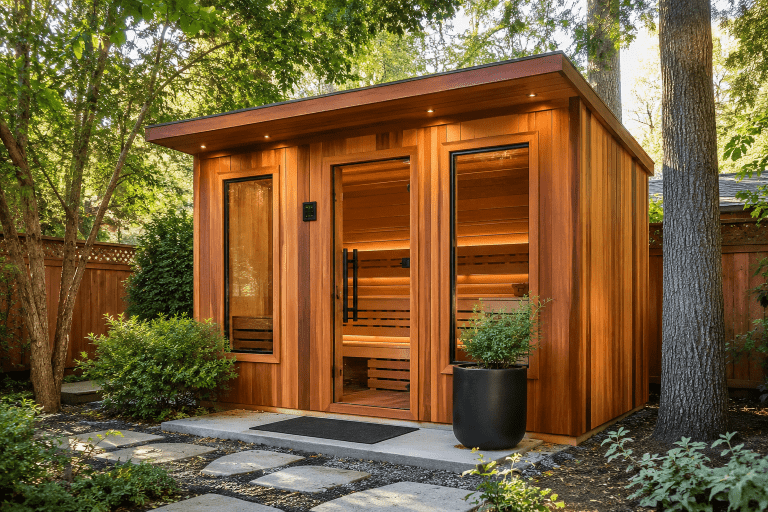
Ventilation for indoor saunas that’s installed in an existing interior room — a converted basement, spare bedroom, or garage space — usually involves more complexity than purpose-built sauna room additions. The existing structure determines what’s possible for intake placement, and not every room orientation allows for ideal diagonal vent positioning.
One thing worth knowing from experience: the wood in a well-ventilated sauna smells different. There’s a clean, warm, resinous quality to it that you lose when moisture gets trapped. That’s not a technical specification — it’s just what a properly breathing room actually feels like after a session.
Maintenance You Actually Need to Do
Once your ventilation system is in place, maintenance for ventilation for indoor saunas is low-effort but not zero-effort.
Monthly: Check vent covers for dust accumulation and wipe clean. Dust on louvres restricts airflow more than people expect. Check that backdraft dampers on exhaust vents are opening freely and not sticking.
Every 3 months: Inspect the area around exhaust vents for any signs of moisture tracking or discolouration on adjacent wall surfaces. Catch this early. Inspect wood surfaces near the intake vent for any unusual moisture patterns after sessions.
Annually: Remove inline fan covers and clean the fan blade. A clogged fan running at reduced capacity is essentially no fan at all. Check all vent seals.
What most people skip: Checking that the intake vent isn’t partially blocked by stored items placed near the heater. It happens constantly. People set a bucket or a towel down and forget about it. Airflow drops and sessions get worse without anyone connecting the cause.
Pros and Cons
Pros of proper ventilation for indoor saunas:
- Maintains safe oxygen levels throughout extended sessions
- Distributes heat evenly, eliminating hot spots near the heater
- Controls humidity to the sweet spot — moist enough to feel therapeutic, not so humid it becomes suffocating
- Protects the structural integrity and finish of wood surfaces long-term
- Makes consistent 20–30 minute sessions physically comfortable
Cons and honest limitations:
- Incorrect vent placement negates most of the benefit — placement matters more than equipment quality
- Mechanical fan systems add a running cost and an additional component that can fail
- Ventilation for indoor saunas in a converted room with limited exterior wall access can require creative solutions that compromise ideal airflow patterns
- In climates with extreme cold, winter intake air can create uncomfortable cold draughts near the floor before the heater compensates
Passive vs Mechanical Ventilation: 7 Real Differences to Know
This is the core decision for most indoor sauna owners. Passive ventilation relies entirely on convective airflow — heat rises, cool air enters, hot air exits, no moving parts. Mechanical ventilation adds a powered fan to force air exchange at a controlled rate.
1. Cost: Passive systems are cheaper upfront — two quality vent inserts cost $40 to $160 total. Mechanical systems add $60 to $200 for a fan plus installation.
2. Noise: Passive ventilation for indoor saunas is completely silent. Mechanical fans introduce a low hum — usually 30 to 45 decibels, roughly equivalent to a quiet library.
3. Control: Mechanical systems allow you to dial in the exact air exchange rate. Passive systems depend on temperature differential and can underperform in rooms where the temperature delta isn’t large enough to drive strong convection.
4. Room size threshold: Passive ventilation works reliably for rooms under 150 cubic feet. Above that threshold, mechanical assistance is usually worth it.
5. Humidity management: Mechanical systems handle humidity more consistently, particularly in humid climates where the air being drawn in is already moisture-laden.
6. Failure modes: Passive systems have no failure modes beyond physical blockage. Mechanical fans can fail, particularly in high-heat environments — choose a fan rated for sauna or high-temperature use specifically.
7. Seasonal performance: Passive ventilation for indoor saunas performs less predictably in winter when intake air is very cold and the convective differential may take longer to establish after startup.
Is passive ventilation enough for a home indoor sauna? For most home saunas under 150 cubic feet with two occupants, passive ventilation is sufficient if vent placement is correct. The key variable is room volume — smaller rooms achieve adequate air exchange through convection alone. Larger rooms, high-occupancy use, or rooms with limited ability to position vents diagonally will benefit from mechanical assistance.
Comparison Table
| Feature | Passive Ventilation | Mechanical Ventilation |
|---|---|---|
| Upfront cost | $40–$160 | $120–$360 |
| Moving parts | None | Fan motor |
| Noise level | Silent | 30–45 dB |
| Room size suitability | Under 150 cu ft | Any size |
| Humidity control | Moderate | Strong |
| Winter performance | Variable | Consistent |
| Maintenance | Minimal | Annual fan cleaning |
| Failure risk | Low | Moderate |
Helpful Gear
Sauna vent insert kit — A round louvred grille cover with built-in fly screen mesh, designed to fit standard 4-inch exhaust openings. Adjustable airflow control, stainless steel construction rated for high-heat environments.”
Inline duct fan with backdraft damper — A compact fan unit installed within the exhaust duct run, designed to actively pull air out of the sauna space at a controlled CFM rate. The backdraft damper prevents cold air re-entry when the fan is off.
Digital hygrometer and thermometer combo — A small wall-mounted unit that reads both temperature and relative humidity inside the sauna in real time, allowing you to verify your ventilation is performing correctly.
FAQ
How many vents does an indoor sauna need? A minimum of two — one intake vent positioned 6 to 8 inches above the floor near the heater, and one exhaust vent near the ceiling on the opposite or adjacent wall. This creates the convective loop that maintains oxygen levels and controls humidity. Larger rooms or high-occupancy saunas may need a third vent or an inline exhaust fan to achieve adequate air exchange throughout the full session.
Can you use a regular bathroom exhaust fan for sauna ventilation? Standard bathroom exhaust fans are not rated for sauna temperatures and will degrade or fail quickly in sustained heat above 160°F. Ventilation for indoor saunas requires components specifically rated for high-temperature environments. Use fans marketed for sauna or high-heat applications — they use heat-resistant motors and housings built for the conditions involved.
Does ventilation affect sauna temperature? Yes, but less than most people expect if placement is correct. A properly positioned intake vent draws in cool air that heats rapidly before reaching occupant height. Poorly placed vents — particularly exhaust vents positioned too low — will pull warm air out before it distributes through the room and can make the heater work harder to maintain target temperature. Good ventilation for indoor saunas improves temperature distribution rather than undermining it.
The simple rule: Two vents, placed diagonally, intake low near the heater, exhaust high on the opposite wall — that’s the non-negotiable foundation everything else builds on.
Summary Snapshot
- Ventilation for indoor saunas requires a minimum of two vents: one low intake, one high exhaust
- Passive systems work for smaller rooms under 150 cubic feet; larger rooms benefit from mechanical assistance
- Correct placement matters more than equipment quality
- Total installation cost: $100–$800 for most home setups
- Monthly checks and annual fan cleaning are the only ongoing maintenance requirements
- Poor ventilation degrades session quality, wood surfaces, and long-term structural integrity

Final Verdict
Ventilation for indoor saunas is genuinely unglamorous. Nobody puts a vent insert on their inspiration board. But it determines whether your sauna becomes a fixture of your routine or a room you stop using because it never quite feels right.
Get the two-vent layout correct before your first session. Understand the room size threshold where passive ventilation stops being reliable. Budget for mechanical assistance if your room is large, your climate is humid, or your wall layout doesn’t allow ideal passive placement.
The pairing of a properly set-up indoor sauna with cold contrast — whether that’s a cold shower or, if you want to take it seriously, a dedicated cold plunge — produces a recovery and mood effect that’s difficult to replicate any other way. I cover that cold side in detail in ice plunge benefits. But none of that works if the sauna half of the equation is a stuffy, oxygen-thin box with warped wood panels.
Sort the ventilation. Everything else follows.
If you found this useful, you might also want to read about indoor vs outdoor sauna post and the related post on best sauna heaters post For the full indoor sauna topic, this sits within our indoor vs outdoor saunas cluster — worth reading alongside the pieces on cost, installation, and setup considerations.